How to Do Regression Testing Right: Practical Tips for Agile Teams
Ever made a code change and found yourself crossing your fingers, hoping nothing else broke? If so, you’re definitely not the only one. That’s exactly where regression testing steps in—it acts as your software’s version of a safety net, catching bugs before they have a chance to make a mess.
From personal experience, as someone who’s wrestled with fragile builds and surprise side effects, I can tell you this: keeping things stable as we fix, update, and fine-tune is absolutely mission-critical.
To help you get a handle on it, in this guide, we’ll unpack regression testing like we’re talking shop at your desk—covering what it really is, why it matters, how to approach it, tips to automate without losing your mind, and how to choose the right tests when you’re short on time.
What Is Regression Testing and Why It Matters
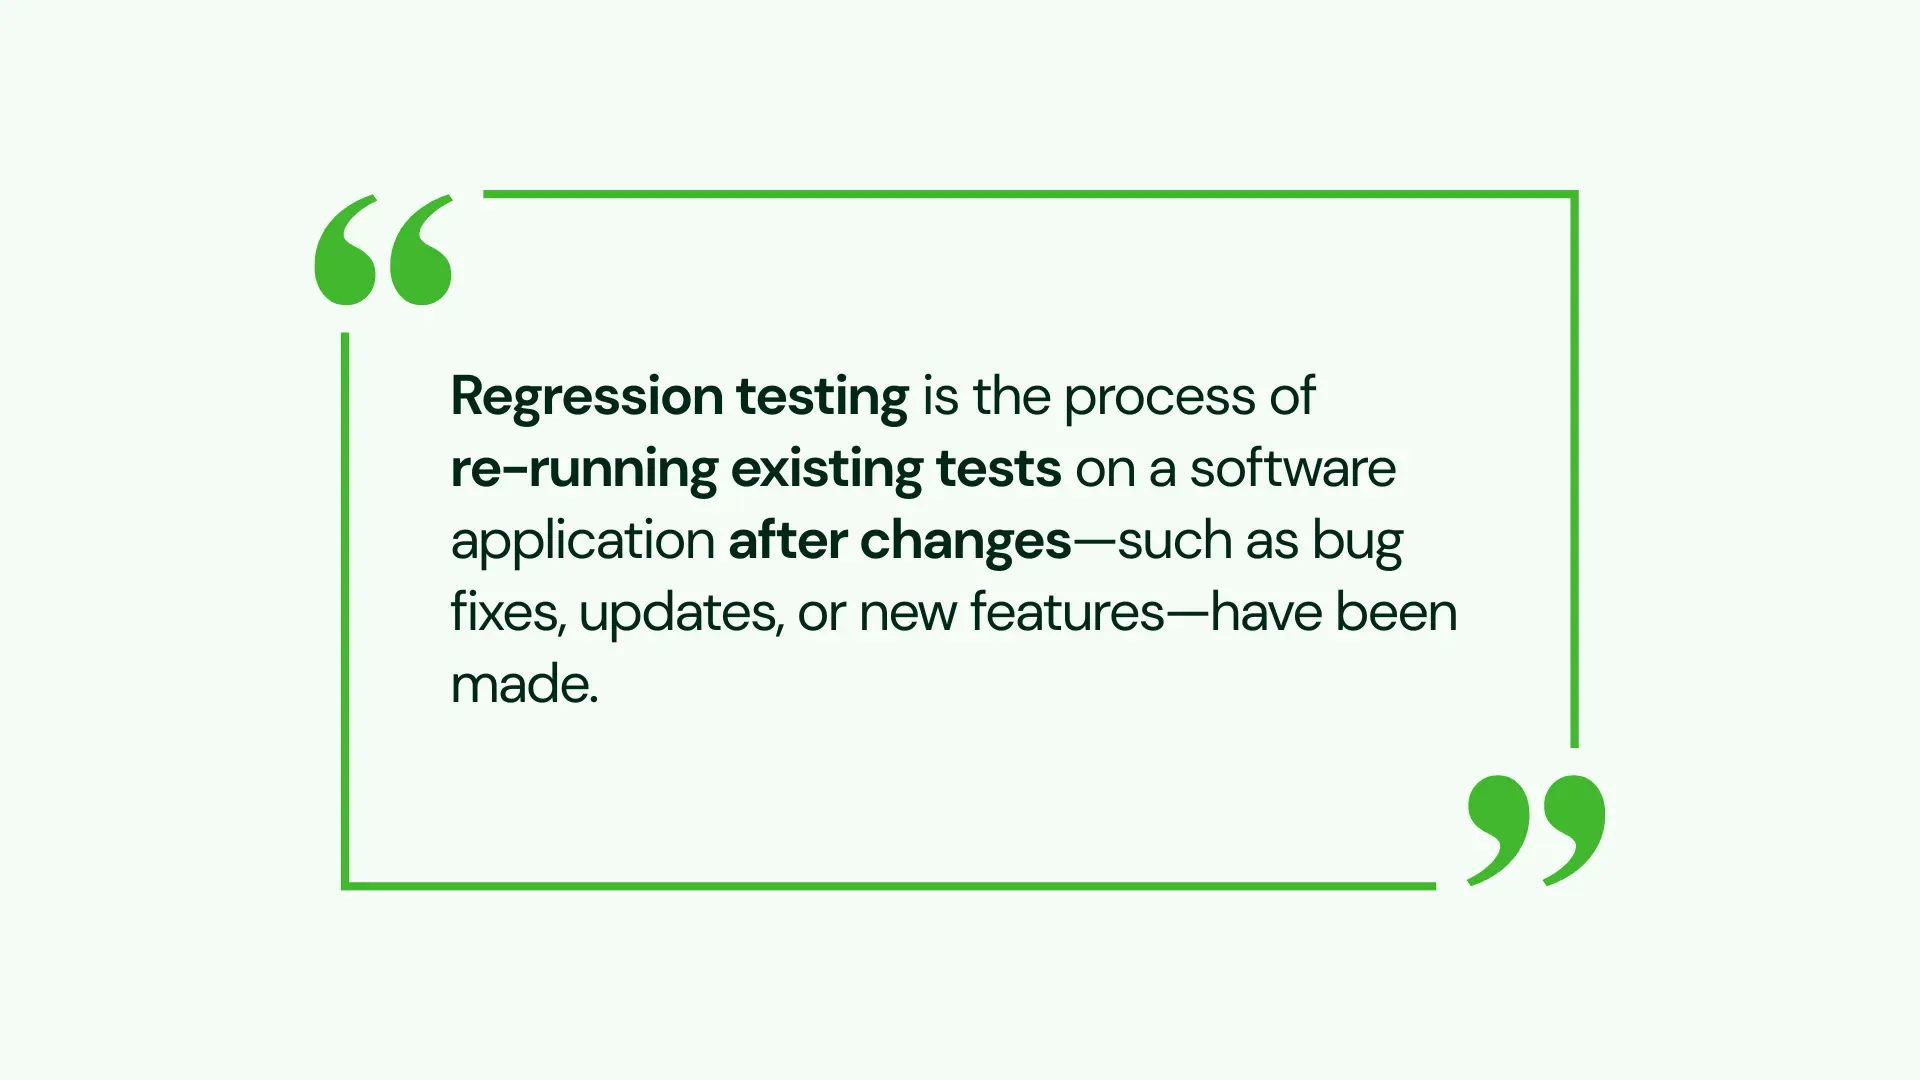
Regression testing is the process of re-running tests on a software application to ensure that new changes or updates have not negatively impacted existing functionality.
To visualize it, picture this: you’ve built a nifty little robot. It walks, talks, and even picks up stuff like a pro. Then you slap on a new feature—say, a laser pointer—and out of nowhere, it forgets how to walk. Classic, right? That’s the kind of unexpected side effect regression testing is designed to catch.
Put simply, in software speak, regression testing means double-checking that your latest changes—whether it’s a bug fix, a new feature, or a performance boost—haven’t accidentally broken something that was already working just fine.
Think of it like a routine health check for your codebase. You’re not testing the shiny new parts (that’s the job for unit tests or integration tests)—you’re making sure the tried-and-true stuff still runs like it should. It’s your way of saying, “Hey, let’s make sure we didn’t break anything while fixing something else.” After all, no one likes surprises in production.
Why Regression Testing Is Essential in Modern Software Development
At first, you might think, “If it was working before, why test it again?” It’s a fair question—but software isn’t exactly known for playing fair. In fact, it’s more like a house of cards: one tiny tweak, and suddenly something seemingly unrelated comes crashing down. That’s precisely why regression testing isn’t optional—it’s essential.
Let’s break down what it brings to the table:
- Stops Regression Bugs in Their Tracks: Even a small change in one corner of your code can quietly cause something miles away to break—like a sneaky semicolon taking down your login system. Fortunately, regression tests catch those gotchas before they ever ship.
- Protects Core Functionality: Sure, your new feature might be shiny and cool—but if users can’t save their work, they won’t be sticking around to admire it. Regression testing ensures your foundation stays solid.
- Saves You (and Your Weekend): Finding a bug early in development? Usually a quick fix. Finding it after a release? That’s a stressful late-night scramble—and likely an awkward chat with your manager. A solid regression suite can spare you all that chaos.
In short, in fast-moving environments like Agile or DevOps, where code changes fly in daily, regression testing acts as your safety net. It’s not just about checking boxes—it’s about protecting your sanity while maintaining trust in your product.
5 Proven Approaches to Effective Regression Testing
When it comes to regression testing, there’s no single “correct” way to go about it. The right approach really depends on your app’s size, your team’s timeline, and how much testing muscle you’ve got to flex. With that in mind, let’s walk through the main strategies so you can choose the one that fits your workflow best:
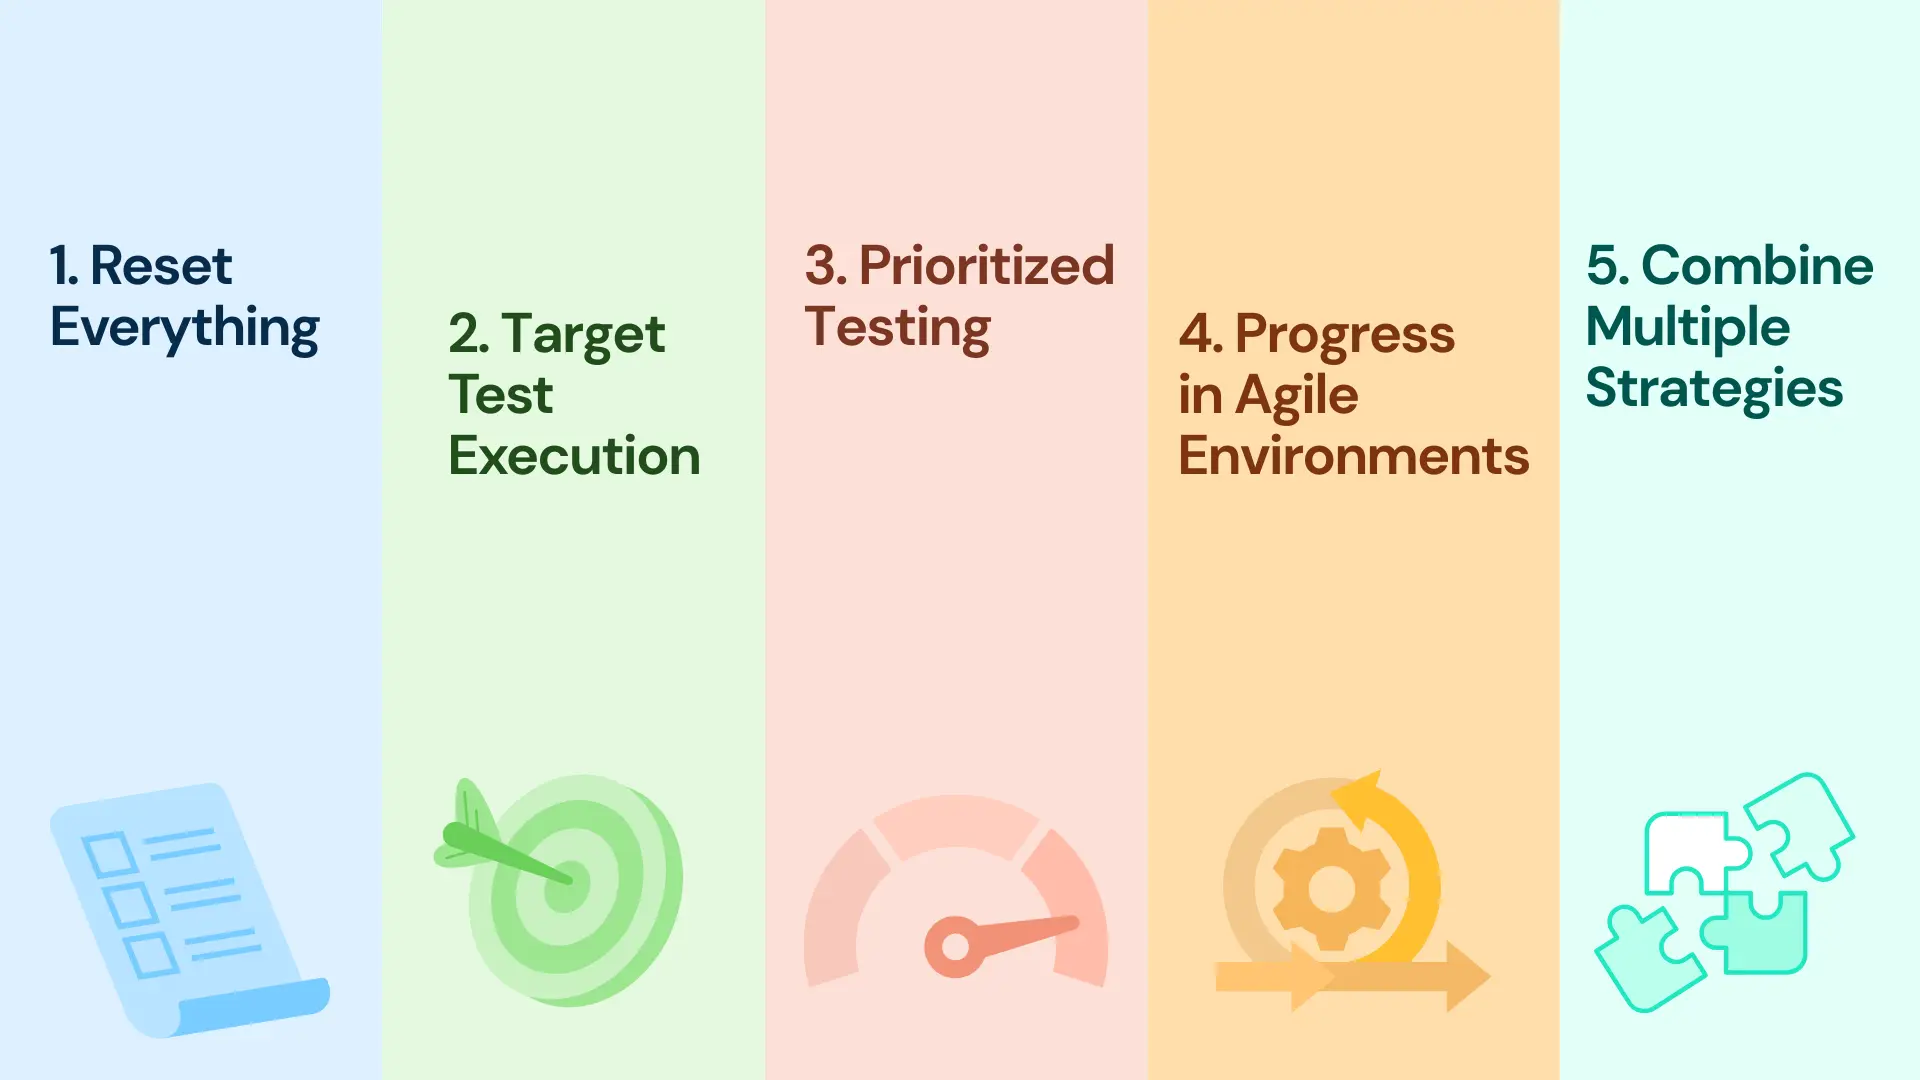
1. Retest Everything: The Full Sweep Strategy
This is the all-out method: you rerun every single test case in your suite, top to bottom. In other words, think of it like sending your car to the shop and asking them to inspect every nut, bolt, and cable just to be safe.
🕒 When to Use: For smaller projects where the number of test cases is still manageable, or after a major overhaul where nearly everything could be affected.
✅ Pros: You leave no stone unturned. If anything’s broken, you’ll catch it.
⚠️ Cons: For large applications, this can be painfully slow. Running the full test suite for every minor change just doesn’t scale well.
2. Selective Regression Testing: Targeted Test Execution
Instead of testing everything, you zero in on specific areas affected by recent code changes. For instance, say you modified the payment gateway—you’d focus your testing there, not on unrelated modules like user profiles.
🕒 When to Use: When you know your system architecture well and can confidently trace the scope of your changes.
✅ Pros: It’s lean and efficient—saves time and avoids running unnecessary tests.
⚠️ Cons: If you miss an indirect dependency, something could slip through the cracks.
💡 Example: Updating a database query? Test the relevant data handling paths—not the UI animations.
3. Prioritized Testing: Focusing on High-Impact Cases
This approach is about working smarter: you rank your test cases by importance—based on risk level, frequency of use, or history of breaking—and run the most critical ones first.
🕒 When to Use: In time-crunched sprints or when testing resources are stretched thin.
✅ Pros: You get the biggest impact early on by focusing on high-risk areas.
⚠️ Cons: It takes time upfront to figure out what’s actually “high priority.”
4. Progressive Testing in Agile Environments
Tailor-made for fast-moving teams, this method blends new feature testing with a minimal set of regression tests for existing features. It’s like inspecting a new section of a building while doing periodic checks on the foundation.
🕒 When to Use: In environments where code changes frequently and features are shipped often.
✅ Pros: Keeps pace with rapid development cycles without becoming overwhelming.
⚠️ Cons: Might miss bugs in older code unless combined with deeper testing periodically.
5. Hybrid Regression Testing: Combining Multiple Strategies
In reality, most teams don’t follow just one approach—they use a blend. You might retest everything for a big release, switch to selective testing for a small patch, and rely on prioritized testing when racing a deadline. It’s all about being flexible and picking the right tool for the task.
🕒 When to Use: Pretty much always—it’s the most adaptable method.
✅ Pros: Gives you the flexibility to balance thoroughness and speed based on the situation.
⚠️ Cons: Takes coordination and a bit of judgment to pull off well.
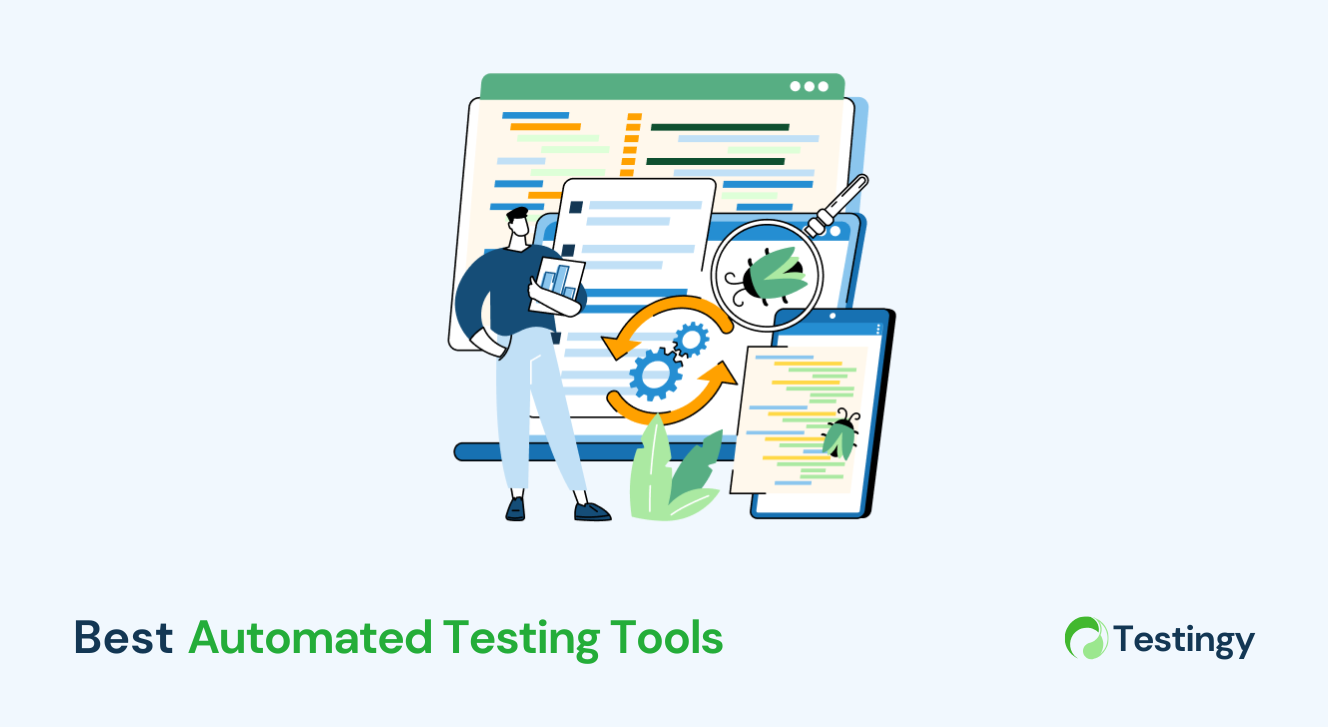
How to Automate Regression Testing for Speed and Accuracy
Manually running regression tests every time? That’s like scrubbing a mountain of dishes by hand when you’ve got a perfectly good dishwasher sitting there. In other words, automation is your best friend—it’s fast, reliable, and frees you up to tackle more interesting bugs. To get the most out of it, here’s how to do it right:
Choosing the Right Regression Testing Tools
To begin with, get yourself a reliable automation toolkit. Here are a few go-to options worth considering:
- Selenium – Ideal for web apps, it automates browsers like Chrome and Firefox.
- JUnit / TestNG – Great for Java-based projects, suitable for both unit and regression testing.
- Playwright – A modern, high-speed option for reliable cross-browser testing.
- Appium – Your top choice for mobile app testing across Android and iOS platforms.
Ultimately, choose tools that align with your app’s platform and match your team’s existing skillset.
Start with Stable, Repeatable Tests
Instead of trying to automate everything right away, begin with the repetitive, rock-solid stuff—like login flows, form validations, or your app’s core workflows. Once those are dialed in, you can confidently expand into more complex scenarios.
Build Modular and Reusable Test Scripts
Additionally, keep your test scripts small and reusable. A single “login” module, for example, can support dozens of different tests—no need to reinvent the wheel every time. Think of it like this: build once, reuse everywhere—just like snapping LEGO pieces into place.
Use Data-Driven Testing for Wider Coverage
Furthermore, avoid hardcoded inputs. Instead, use data-driven testing to feed your test logic with a range of values from a file or database—like multiple user logins or input combinations. As a result, you’ll boost test coverage and cut down on redundant code.
Maintain and Update Your Automated Test Suite
Automated tests aren’t a “set-it-and-forget-it” deal. As your app evolves, your tests need to evolve too. For instance, a renamed button or updated selector can easily break a script. Therefore, schedule regular review checkpoints to keep everything up to date and avoid false alarms.
Integrate Regression Testing into CI/CD Pipelines
If you’re using continuous integration tools like Jenkins or GitHub Actions, then go ahead and integrate your regression suite so it runs with every code commit. This way, you’ll catch bugs early—before they slip into production and cause headaches.
Enable Logging and Debugging for Test Failures
Also, make sure your tests log useful info—like timestamps, pass/fail statuses, and clear error messages. Consequently, when something fails, a detailed log helps you debug faster and smarter—no more playing “guess the failure.”
Regression Test Case Prioritization Strategies That Work
Big apps come with big test suites—sometimes hundreds or even thousands of cases. Running them all for every release? Not practical. That’s exactly why prioritization becomes your best friend. To help you make smart decisions without cutting corners, here’s how to focus your testing where it counts most:
1. Focus on High-Risk Functional Areas
To begin, start with the areas that pose the highest risks. These are the parts of your app that:
- Handle mission-critical tasks (like payments or user authentication)
- Have a history of breaking under pressure
- Could cause serious damage if they fail—whether it’s financial, legal, or reputational
Think of it this way: a broken checkout page is a much bigger problem than a typo in your footer.
2. Target Areas Based on Recent Code Changes
Next, focus on what’s changed recently. If a developer added a new API or refactored a backend module, you’ll want to run tests around those updates. UI changes? Time to check layouts, responsiveness, and visual consistency.
Pro tip: your version control history (like Git) serves as a roadmap—use it to guide your test planning efficiently.
3. Test Features Based on User Behavior Frequency
It’s important to remember that not all features are used equally. Prioritize test coverage for the parts of your app that users rely on most.
For example: if most users log in every day, that login functionality should sit at the top of your priority list—well before rarely-used admin controls.
4. Watch Out for Areas with Frequent Failures
In many cases, some parts of your app already have a reputation—they’ve broken before and probably will again.
Use bug tracking tools like Jira or Bugzilla to identify these repeat offenders and keep them on your testing radar.
5. Align with Features that Drive Business Value
Additionally, loop in your product team and ask: which features really move the needle? Whether it’s a revenue-generating checkout flow or a feature that keeps users coming back, these areas should always be protected.
Bottom line: prioritize the tests that help your business run smoothly and keep your customers happy.
Manual vs. Automated Regression Testing: Finding the Right Balance
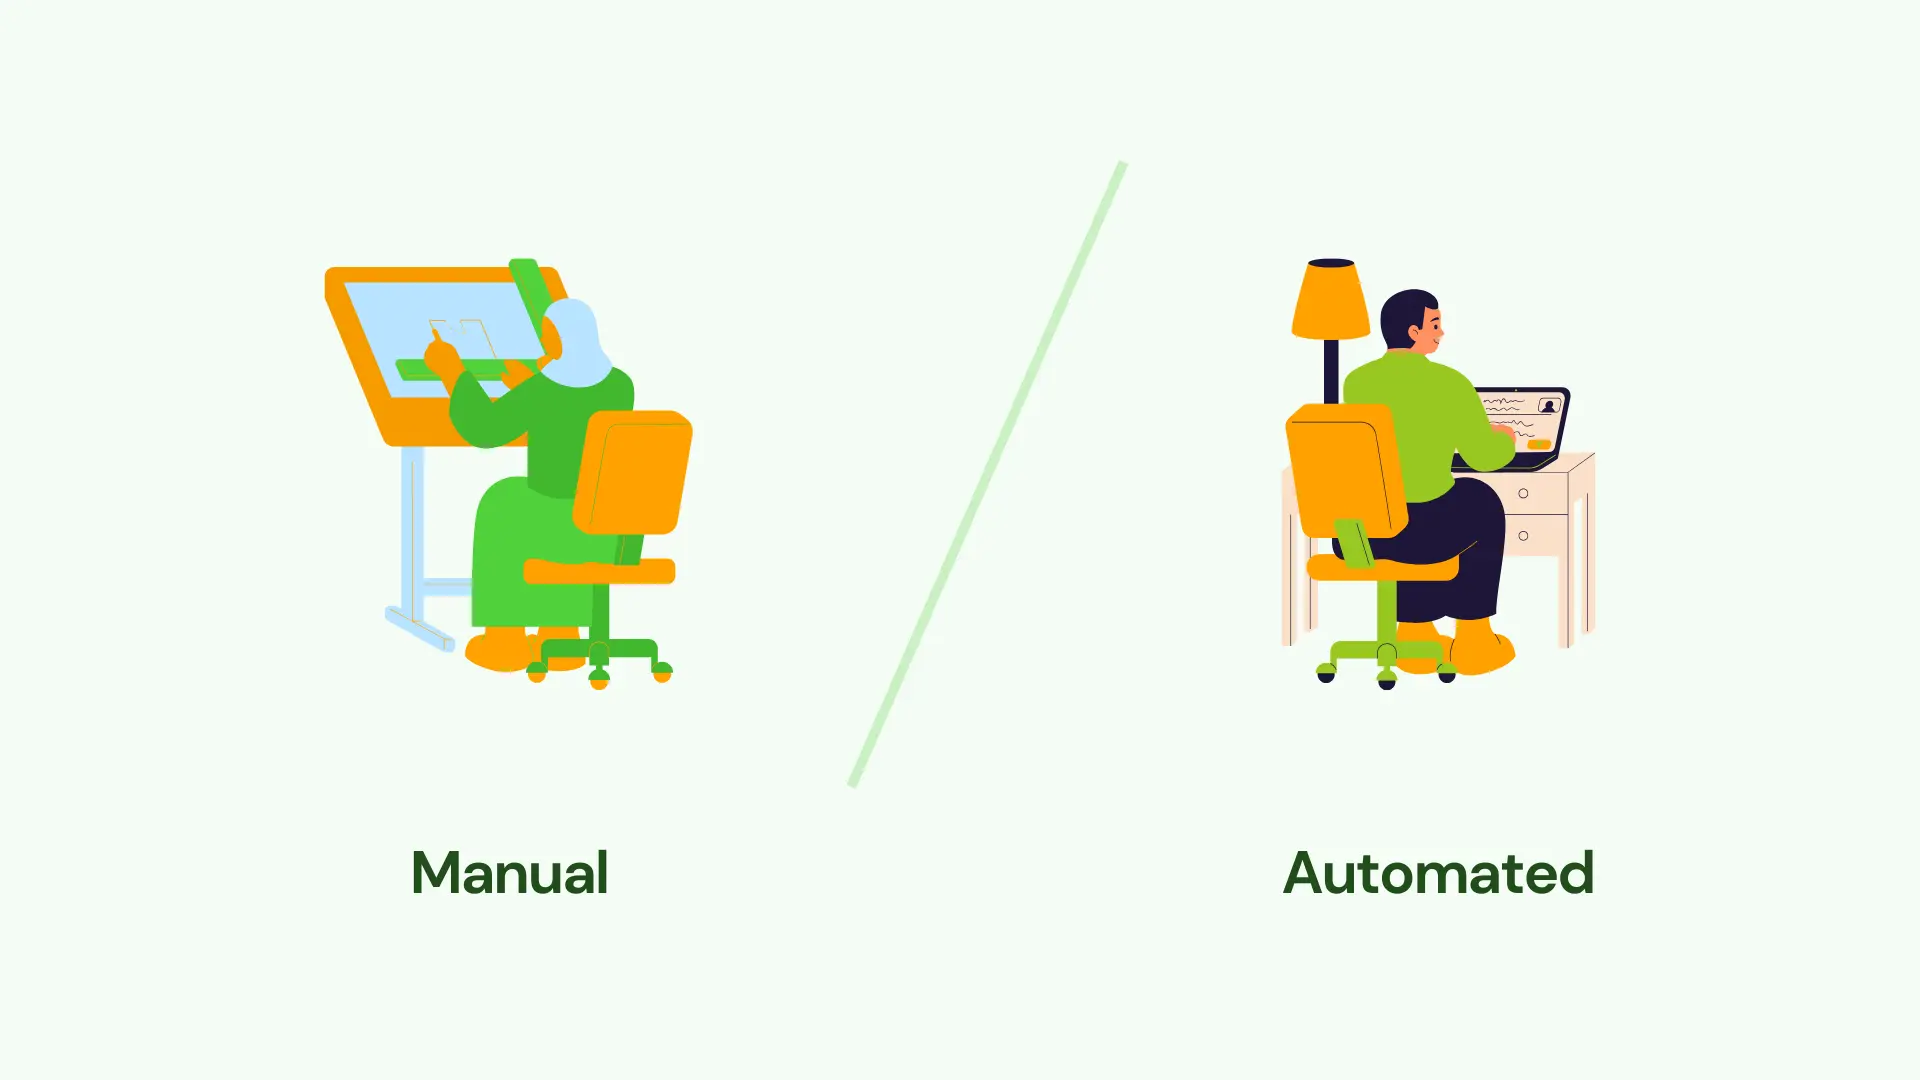
Don’t get me wrong—automation is fantastic. However, it’s not a one-size-fits-all solution. Some parts of testing still need a human eye and a bit of intuition.
Think of it this way: automation takes care of the heavy lifting, but manual testing steps in to fill the gaps that scripts just can’t catch.
Automate: Repetitive, stable, and high-traffic workflows like login processes or CRUD operations.
Manual: Exploratory testing, UI feel, or unpredictable one-off scenarios.
In practice, it’s kind of like baking—use a stand mixer for the bulk of the dough, but hand-knead when finesse is required.
How to Set Up a Stable Environment for Regression Testing
Remember, your test results are only as trustworthy as the environment you run them in. A flaky setup is like testing a race car in a parking lot—you won’t get meaningful results, no matter how great your tests are.
To get accurate, reliable outcomes, here’s what your environment should offer:
- Mirror Production: Match your OS, database, network conditions, and test data (anonymized, of course).
- Stable and Isolated: Eliminate random updates, shared servers, or background chaos that can mess with results.
- Easy to Reset: Use containers (like Docker) so you can quickly spin up fresh, clean environments whenever needed.
Ultimately, a solid test environment turns “it works on my machine” into “it works—period.”
Common Regression Testing Challenges and How to Overcome Them
Even the best-laid test strategies run into bumps. That said, being ready for the usual suspects can save you time and frustration. Here’s how to handle the big ones:
- Test Suite Bloat: Over time, test suites can get bloated and sluggish. Make it a habit to clean house—retire outdated or redundant tests to keep things lean and nimble.
- Flaky Tests: Few things are more annoying than random test failures. Investigate timing issues, race conditions, or unstable dependencies—and fix them at the source.
- Time Crunch: Deadlines looming? Prioritize high-risk areas and lean on automation to cover routine checks without burning time.
Missed Bugs: Sometimes, you test the wrong thing. Pair up with devs to stay aligned on what really changed and what truly needs coverage.
Best Practices to Improve Your Regression Testing Process
To close out the tactical side of things, let’s wrap with some field-tested habits that help you stay sharp and make your regression testing even more effective:
- Keep It Lean: Focus your suite on what matters most—less is more when each test has a clear purpose.
- Document Clearly: Leave helpful comments and maintain logs so others can jump in without guesswork.
- Collaborate: Talk with developers—they know where things are fragile, experimental, or newly refactored.
- Monitor Results: Use dashboards (like Jenkins or your CI tool of choice) to track patterns and catch creeping failures early.
Stay Sharp: Keep learning—new tools, frameworks, and methods pop up all the time. Good testers evolve just like good code.
Conclusion: Regression Testing as Your Ongoing Quality Safety Net
And there you have it—your hands-on guide to mastering regression testing from the trenches. At its core, this isn’t just about running test scripts. It’s about making sure your app stays reliable, stable, and trustworthy, no matter how fast things move around it.
Whether you’re running full suites, targeting high-risk areas, or automating like a pro, regression testing becomes your silent guardian. It protects your codebase from falling apart right when you least expect it.
So next time you ship a change, do it with confidence. Prioritize wisely, automate where it makes sense, and never underestimate the power of a solid test suite. Your users may never see the bugs you caught—but they’ll feel the difference in every smooth, seamless interaction.